
Summary:
This article goes through the Import screen and describes how various fields are used or what the available options do when selected.
Datafile:
Used to specify the file being imported. If the required file has not already been uploaded, it will not be available in the dropdown menu and will need to loaded using the "Upload" button.
Import Type:
Used to select the Import Type being used for this specific import.
"XLS / CSV / TEXT (with FleetWave headers)" is the standard option, but other user-created import definitions can also be selected from the list.
If needed, you can create and configure additional import definitions to be used here from within the "Import Definitions" module.
Options:
Here, you are given various options that can be used to supplement or change the import process altogether.
Show Details:
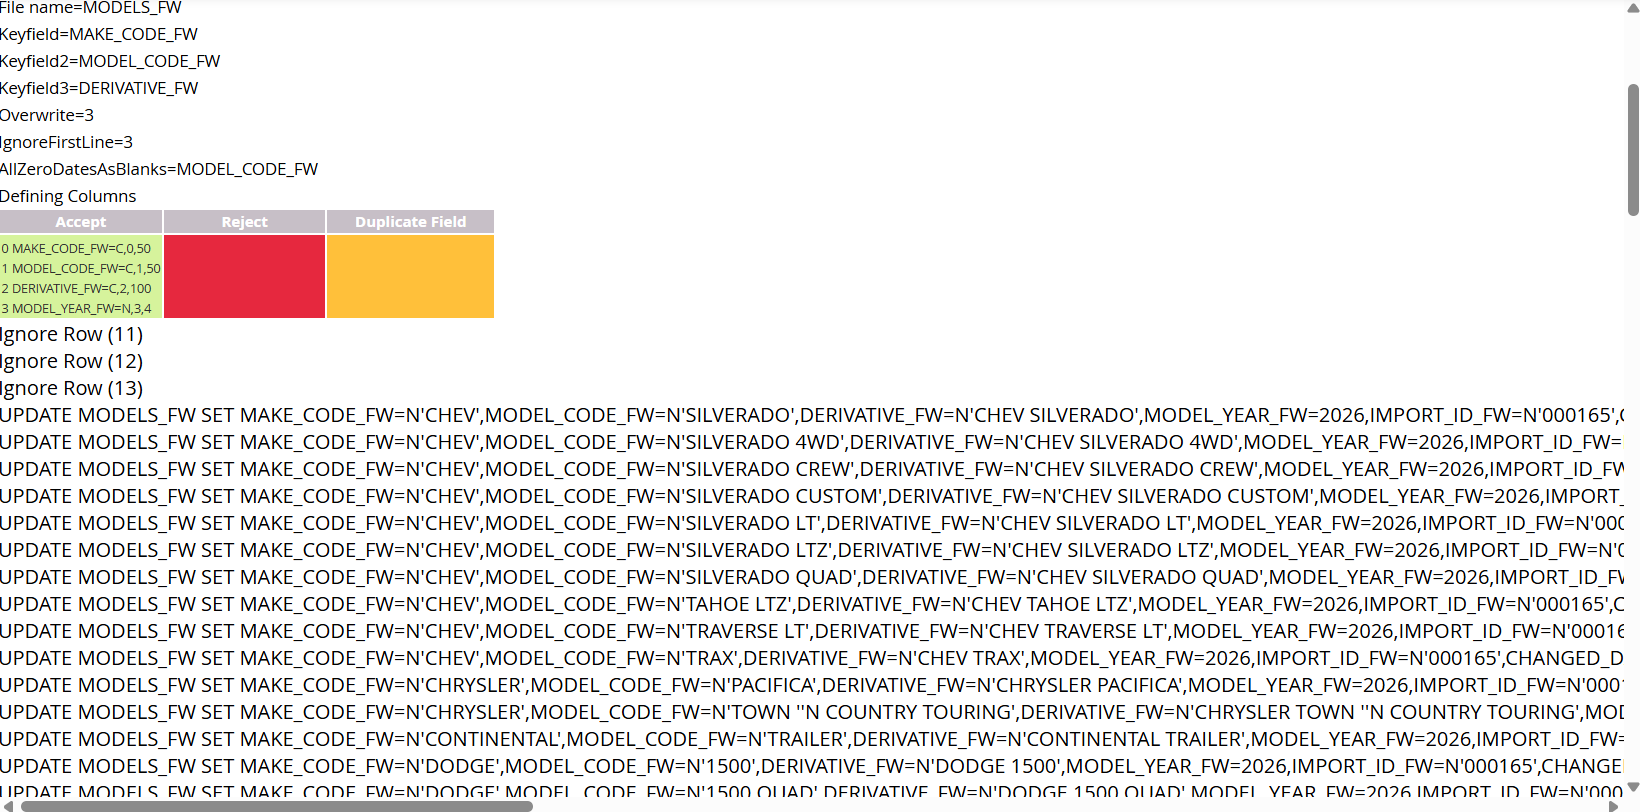
When this option is unchecked, the system will still show a few details related to the ongoing import process, such as any comments on the import file, the filename specified, key fields, the overwrite option, the ignore line options, etc.
When checked, the above information is still shown, in addition to detailed information regarding each line of the file being imported. This includes whether the line was used to insert a new record, or update/replace an existing record, as well as the actual values being imported.
Test Mode:
Test mode is used to test the import file prior to actually importing any data. For example, you might run this mode to ensure the columns specified are valid.
Load data into verification tables (preload):
This option creates a temporary staging area table where the data is imported to to check the values are correct before they're being committed to the destination table. It is checked by default when XLS / CSV / TEXT (with FleetWave headers) is selected.
When an import is done running while this option is selected, you should click the "Continue" button at the bottom of the screen containing the import details, after which you will be taken to the Preload Headers screen where you can Validate, Transfer, or view a Report related to the preloaded data.
Once done reviewing the data, you should select "Transfer" in order to transfer the good data to the intended table.
Note:
If the import is run with both the "Test mode" and "Load data into verification tables (preload)" options selected, you will likely encounter an error on the import details screen along the lines of "A runtime error has occurred. Table name is blank"
This is because the preload option expects data to load into the verification tables, but the test mode option prevents any data from actually being imported causing a conflict because the system is expecting data that doesn't end up actually being imported.
It is for this reason that we recommend only running the import with one or the other option selected, never both.